Job Lifecycle
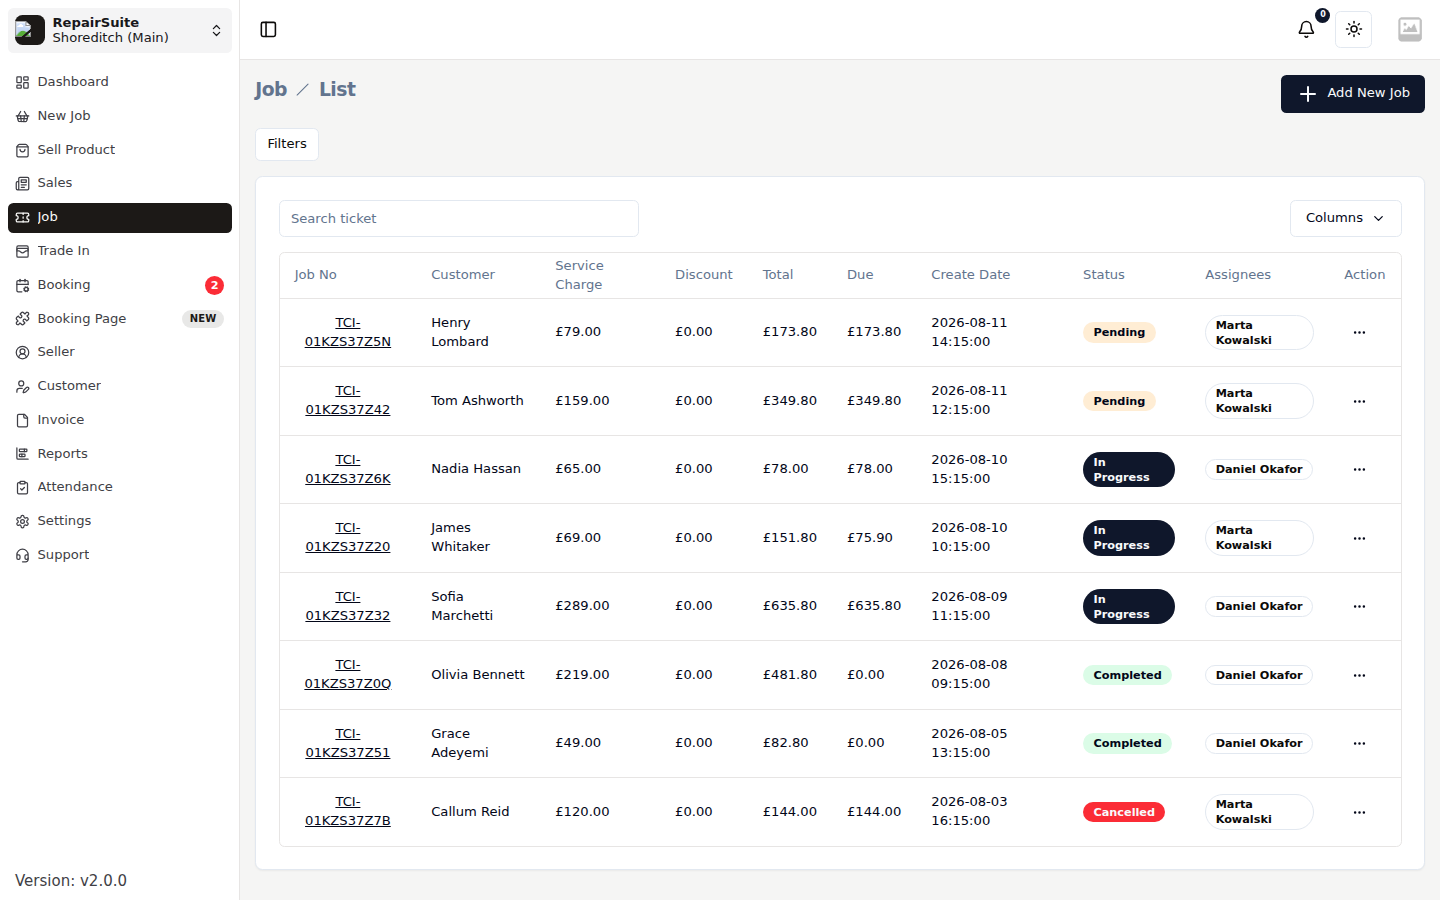
A job is the central record in RepairSuite. It represents a device brought in for repair, and it carries the customer, the fault, the parts, the money and the history. This page walks the whole lifecycle.
Overview
Booked in ──▶ Pending ──▶ In Progress ──▶ Completed
                              │
                              └──▶ Cancelled
| Status | Meaning |
|---|---|
| Pending | The job exists, nobody has started work |
| In Progress | A technician is working on it |
| Completed | The repair is done and the device is ready for collection |
| Cancelled | Work stopped; a cancellation note is stored on the job |
Each job item (one device on the job) also carries a task status, which adds Diagnosing for work still being investigated and Reopened for a device that has come back.
Step 1 — The device arrives
A job starts one of two ways:
- At the counter — staff run the New Job wizard.
- From a booking — the customer submitted a booking request online, and staff convert it to a job in one click.
The wizard captures category, manufacturer, device, issues, parts and details. See Repair Jobs for the field-by-field walkthrough.
On save, RepairSuite:
- Generates the job number
- Creates the job invoice
- Reserves and decrements stock for every part selected
- Emails the customer a confirmation
- Notifies the assigned technician
Step 2 — Diagnosis and repair
The technician opens the job and works through it.
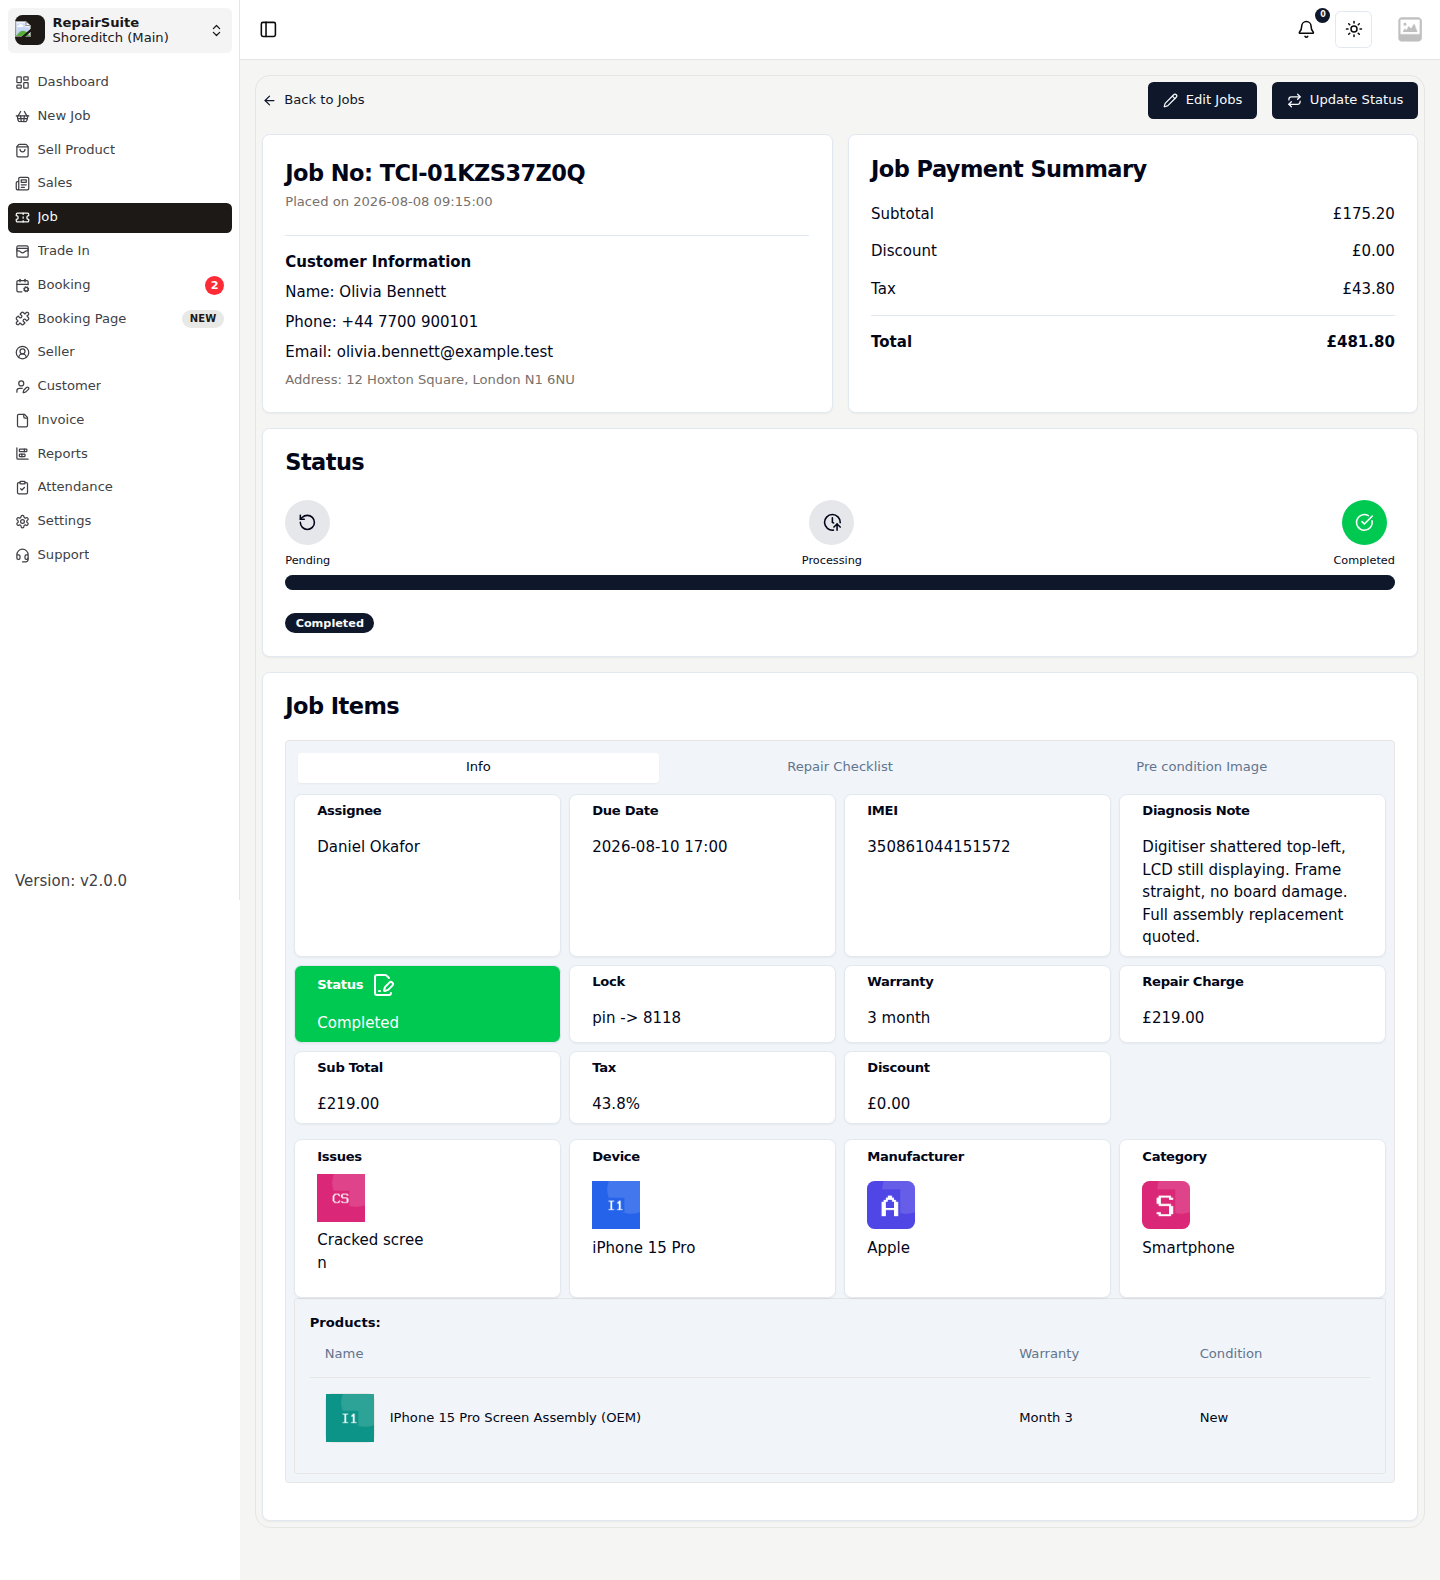
- Move the item's task status to Diagnosing while investigating, then In Progress once the fix is known
- Record what you found in the Diagnosis note
- Work through the Repair Checklist on the job item
- Capture pre-condition images before starting, so the device's original state is documented
If the repair needs a part that was not on the original job, add it by editing the job — stock is adjusted to match.
Step 3 — Completion
When the repair is finished:
- Tick off the remaining checklist items
- Set the job status to Completed
- Review the invoice
Completing a job releases the stock reservations against it and notifies the customer that the device is ready.
Step 4 — Payment
Payment can be taken at any point — a deposit at drop-off, the balance on collection.
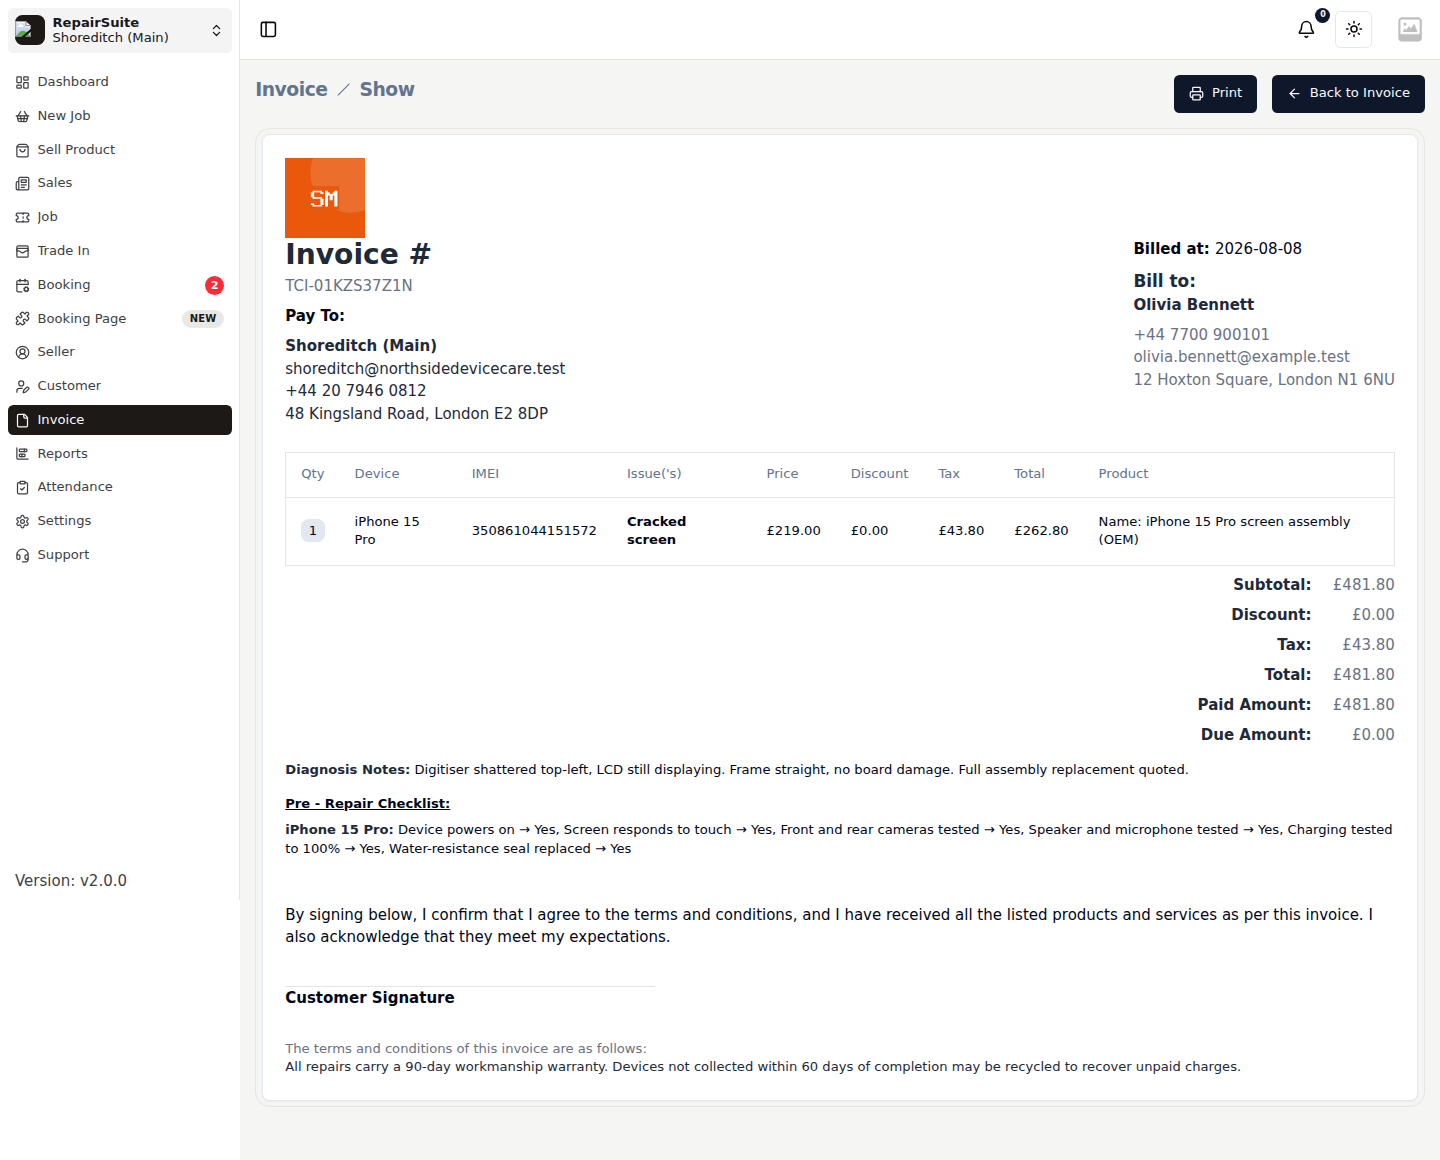
- Open the job invoice
- Click Collect Payment
- Enter the amount and the payment method
- Save
The invoice moves to Partially Paid or Paid, and each collection is recorded in the payment history. See Invoices.
Step 5 — Collection
Hand the device back, take any outstanding balance, and the job is done. Print a label at intake so the device is easy to find on the shelf when the customer arrives.
Customer visibility
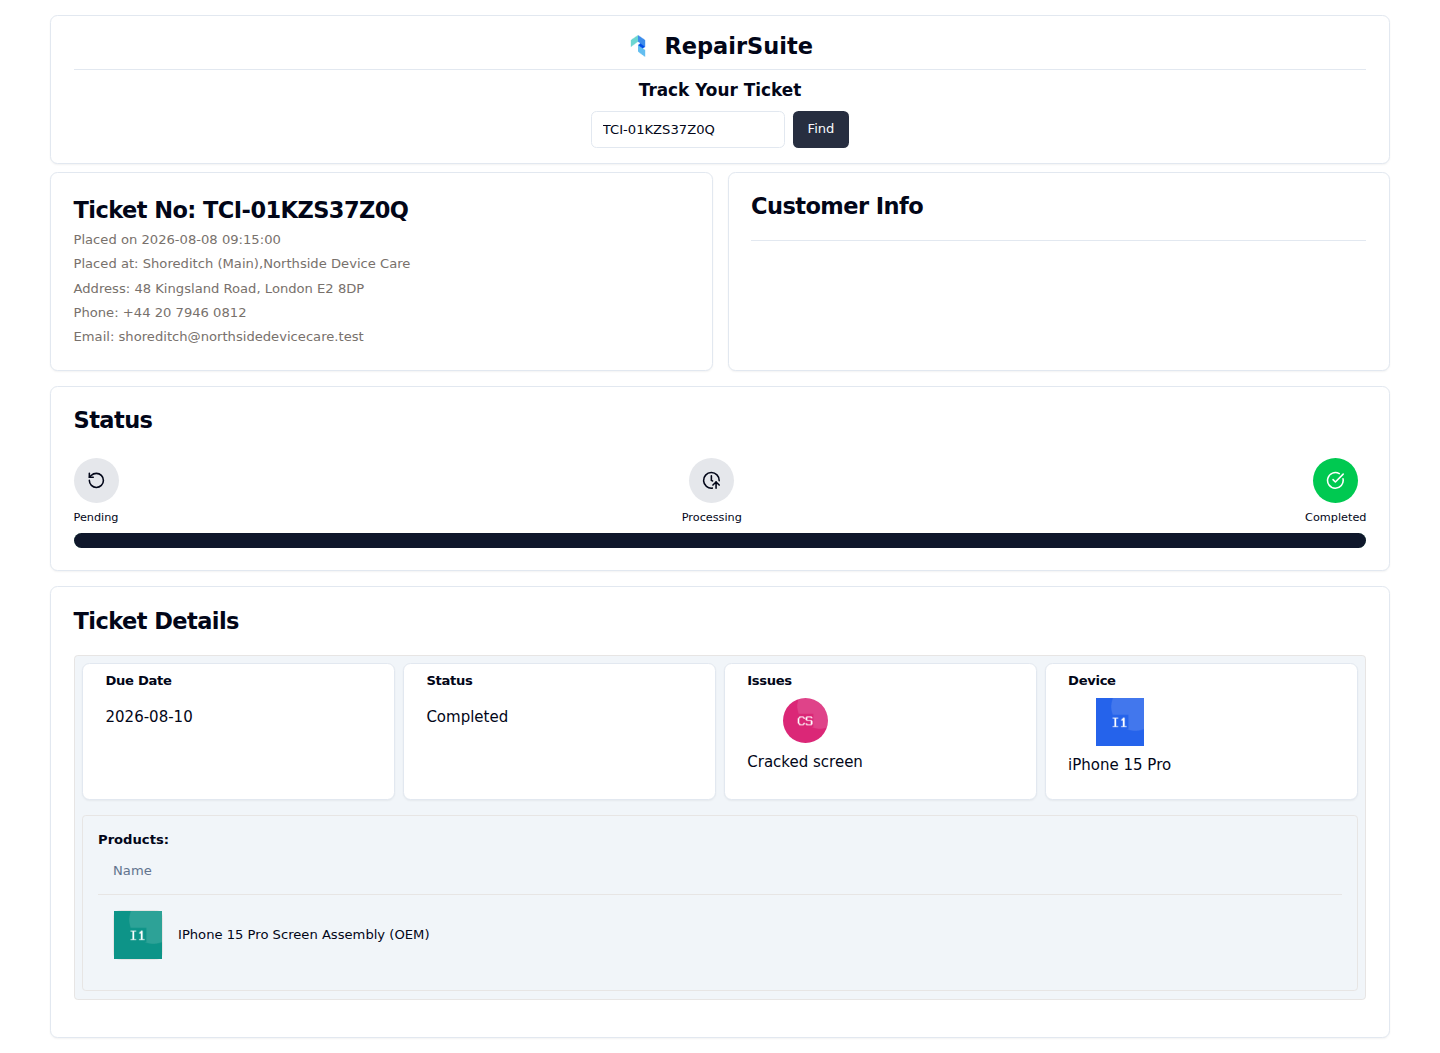
Customers can follow a job without calling you:
- Public tracker — anyone with the job number can check progress at
/ticket-tracking, no login needed. See Public Job Tracking. - Customer portal — registered customers see their jobs and invoices in their own dashboard. See Customer Jobs.
Cancelling a job
- Open the job
- Click Cancel
- Enter the reason — this is required
- Confirm
:::warning Cancelled jobs cannot be reopened. If the customer changes their mind, create a new job. :::
What the job touches
| Area | Effect |
|---|---|
| Inventory | Parts are consumed from branch stock and recorded as stock movements |
| Invoicing | An invoice is created with the job and stays linked to it |
| Reporting | Jobs feed the sales summary, profit margin and employee productivity reports |
| Attendance | The assignee's completed jobs feed the employee productivity report |