Branch Settings
A branch is a physical location of your shop. This screen is where you edit one.
Go to Settings → Branch, then use the row action to edit.
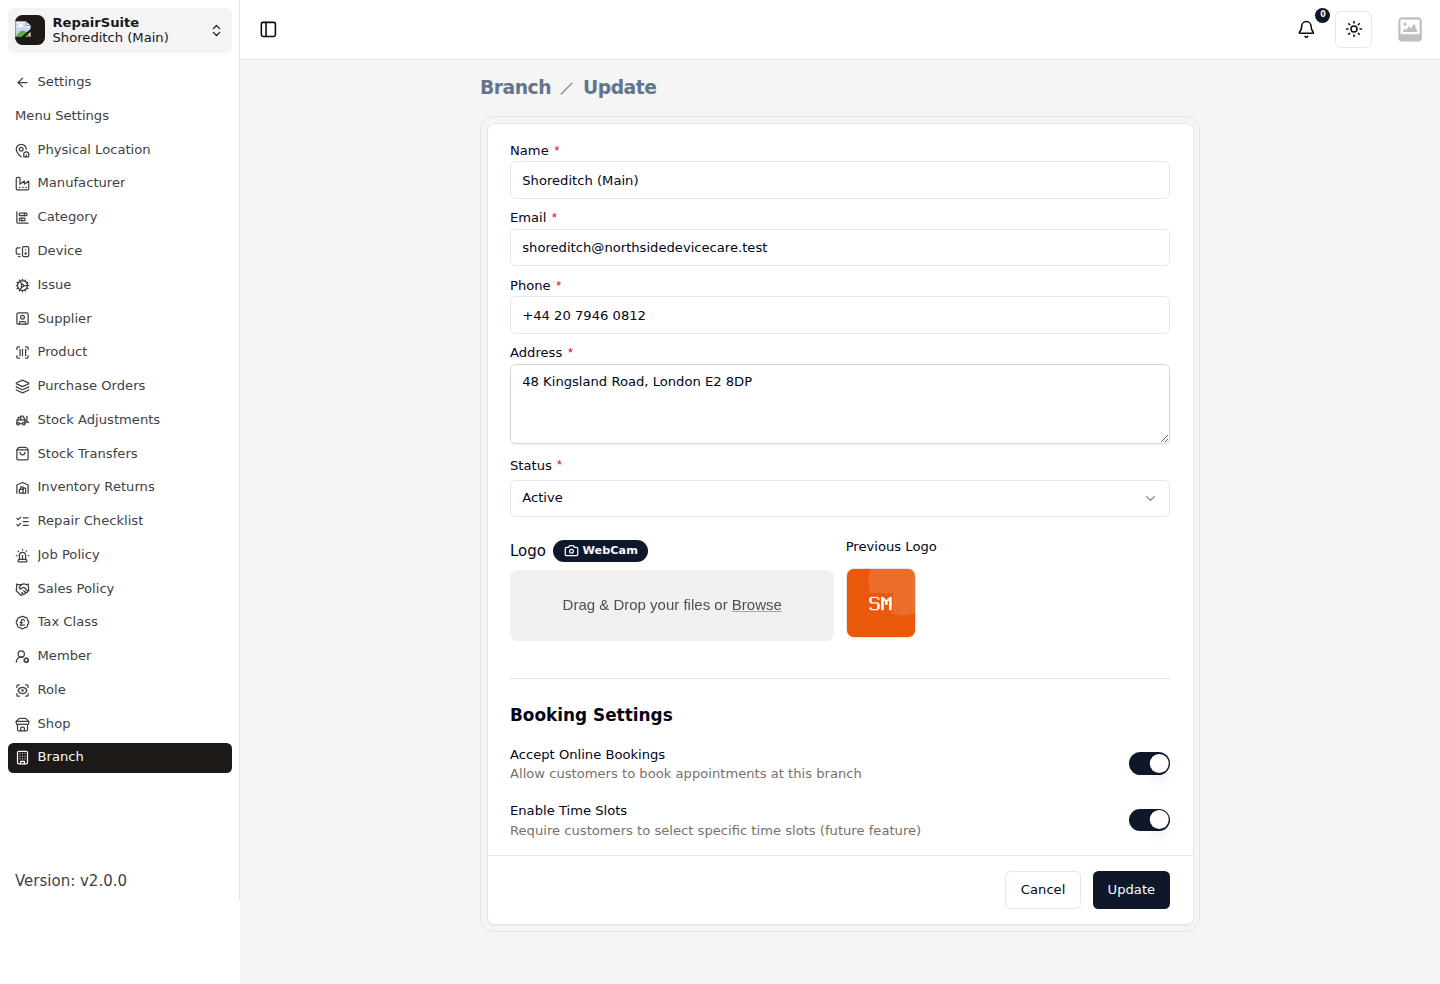
Fields
| Field | Description |
|---|---|
| Name | Location name — "Shoreditch (Main)", "Camden" |
| Branch contact email | |
| Phone | Branch contact number |
| Address | Full address, shown on invoices and the booking page |
| Status | Active or Inactive |
| Logo | Branch logo, used in the branch switcher and on branch paperwork. Upload a file or capture one with the webcam. |
Booking Settings
| Setting | What it does |
|---|---|
| Accept Online Bookings | Whether customers can pick this branch when booking online |
| Enable Time Slots | Require a specific time slot rather than a preferred time |
:::note A branch only appears on your public booking page when both the shop-level switch in Booking Page and this branch's Accept Online Bookings are on, and the branch is Active. :::
Branch status
Setting a branch to Inactive:
- takes it out of the branch switcher
- logs out any staff member whose only branch is this one
- leaves all of its data intact, ready for when you reactivate it
Adding another branch
- Go to Settings → Branch
- Click Add New Branch
- Fill in the details and save
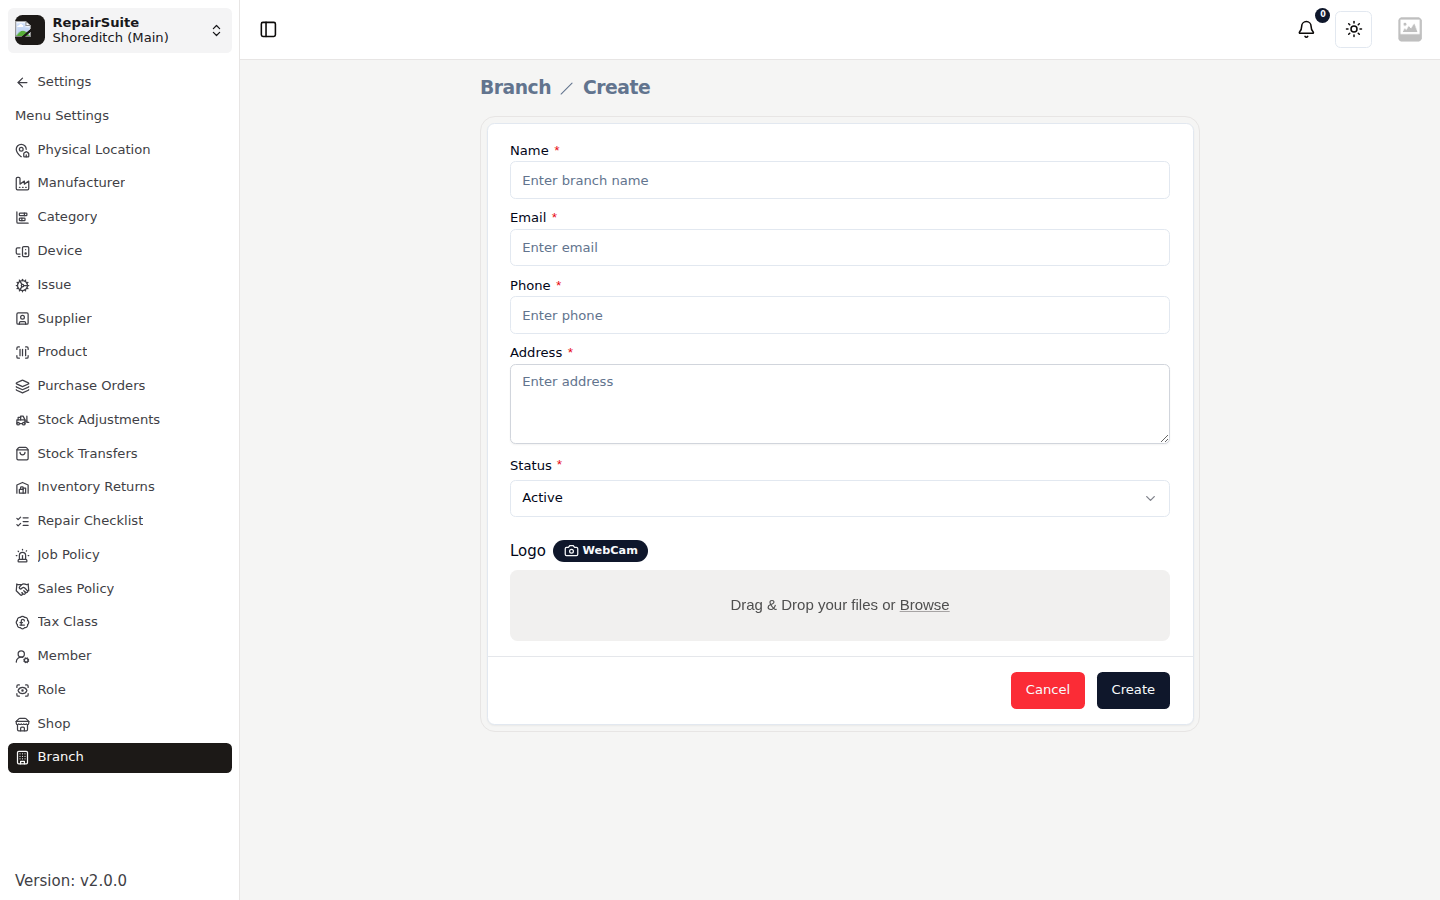
A new branch starts with no stock. Fill it using Purchase Orders or a Stock Transfer from an existing branch.
The branch list
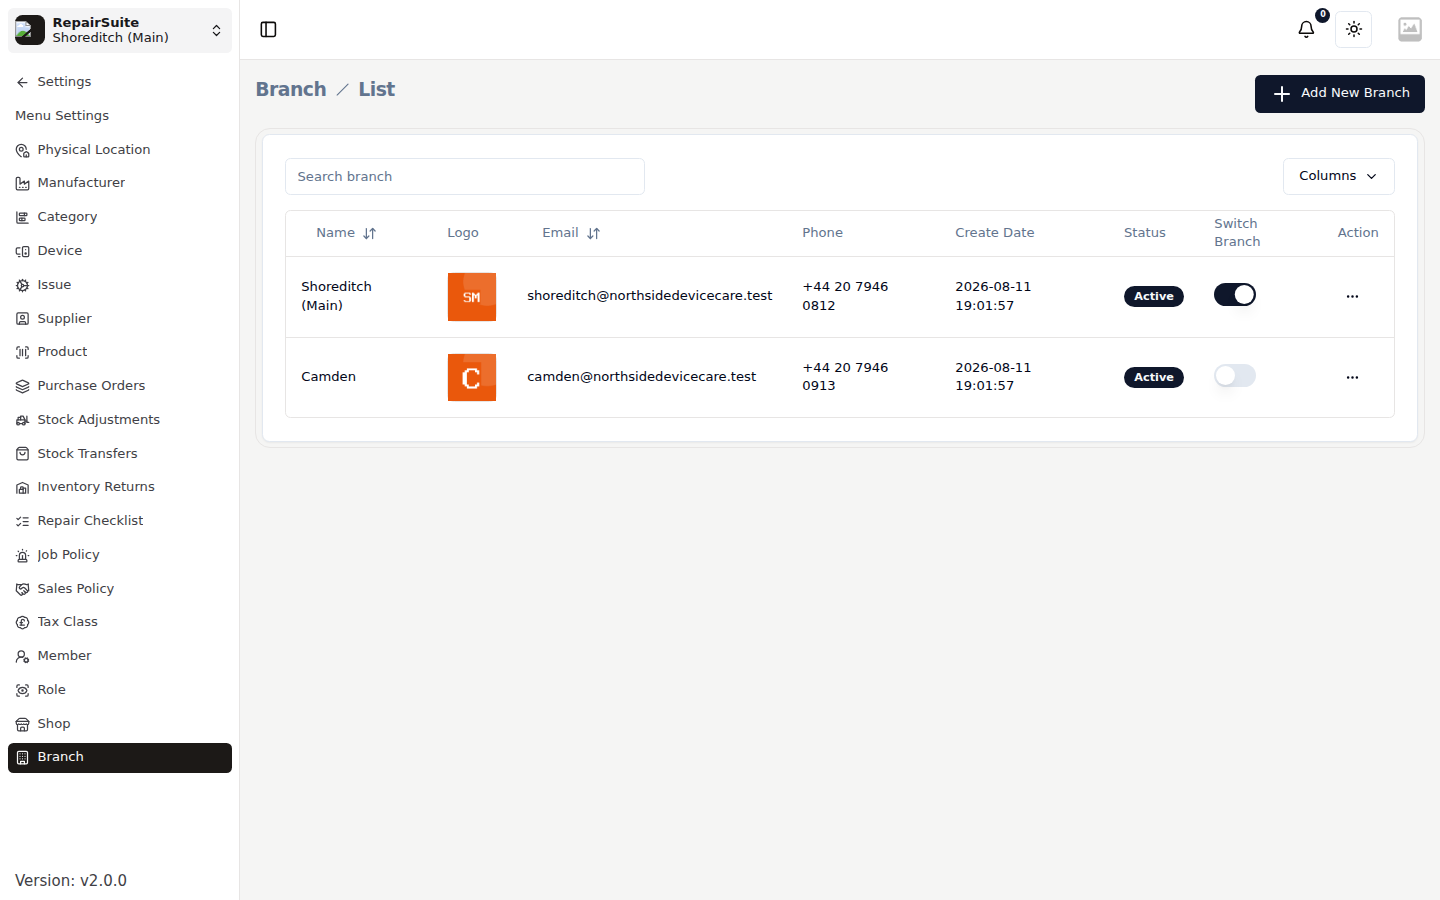
Every branch in the shop, with its status. Your plan sets how many branches you may have — see Plans.