Set Up Your Branch
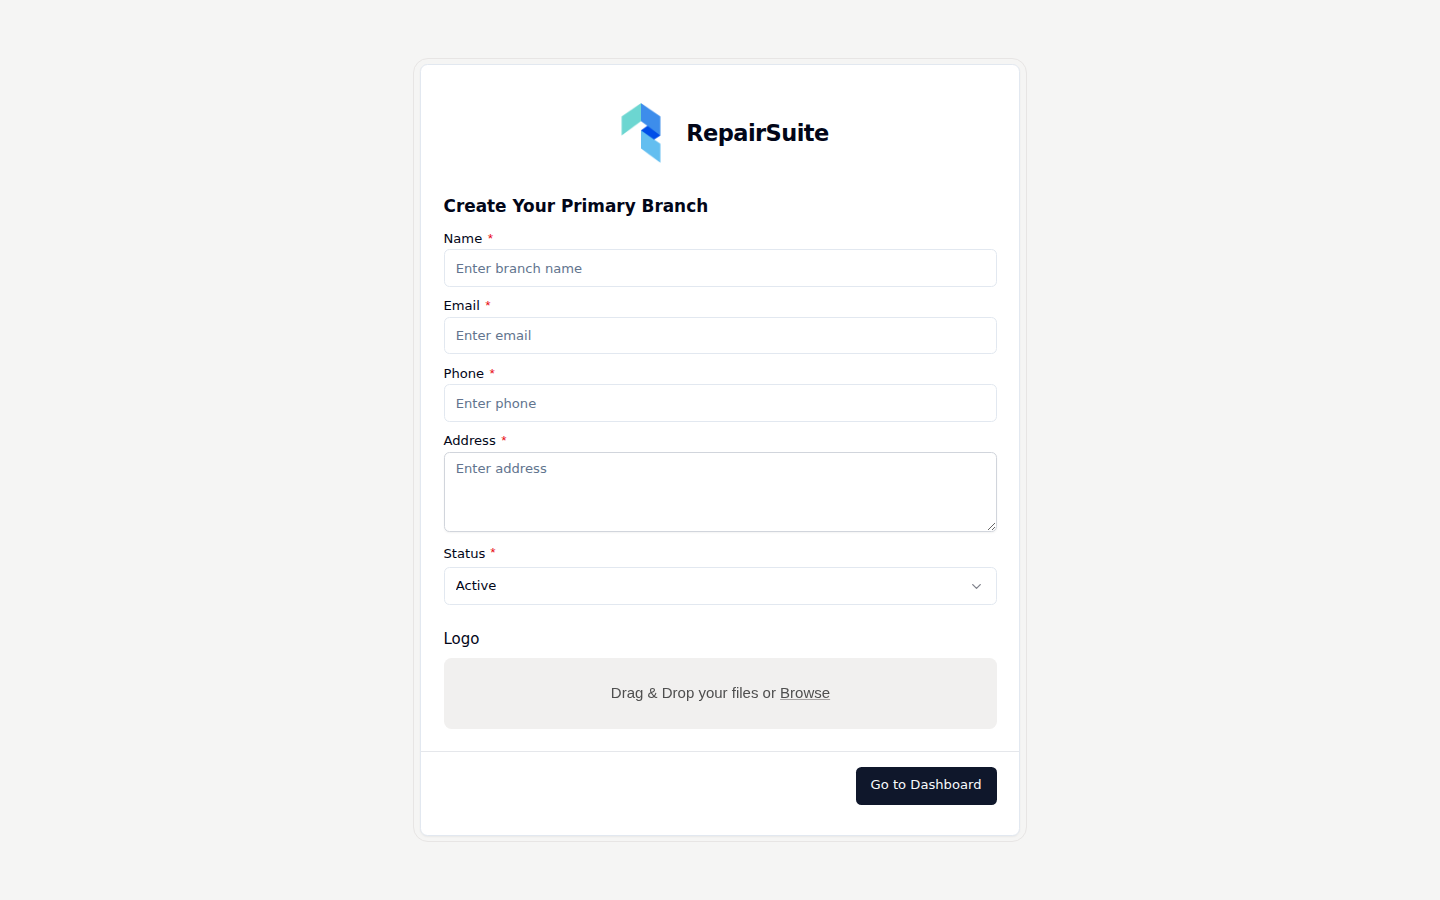
A branch is a physical location of your shop (e.g. "Main Street Location" or "City Centre Branch"). Every repair ticket, customer, inventory item, and staff member belongs to a specific branch.
:::warning You must create at least one branch before you can use RepairSuite's core features (tickets, inventory, POS, etc.). :::
Prerequisites
- At least one shop created
Creating Your First Branch
After creating your shop, RepairSuite will redirect you to the branch creation form automatically.
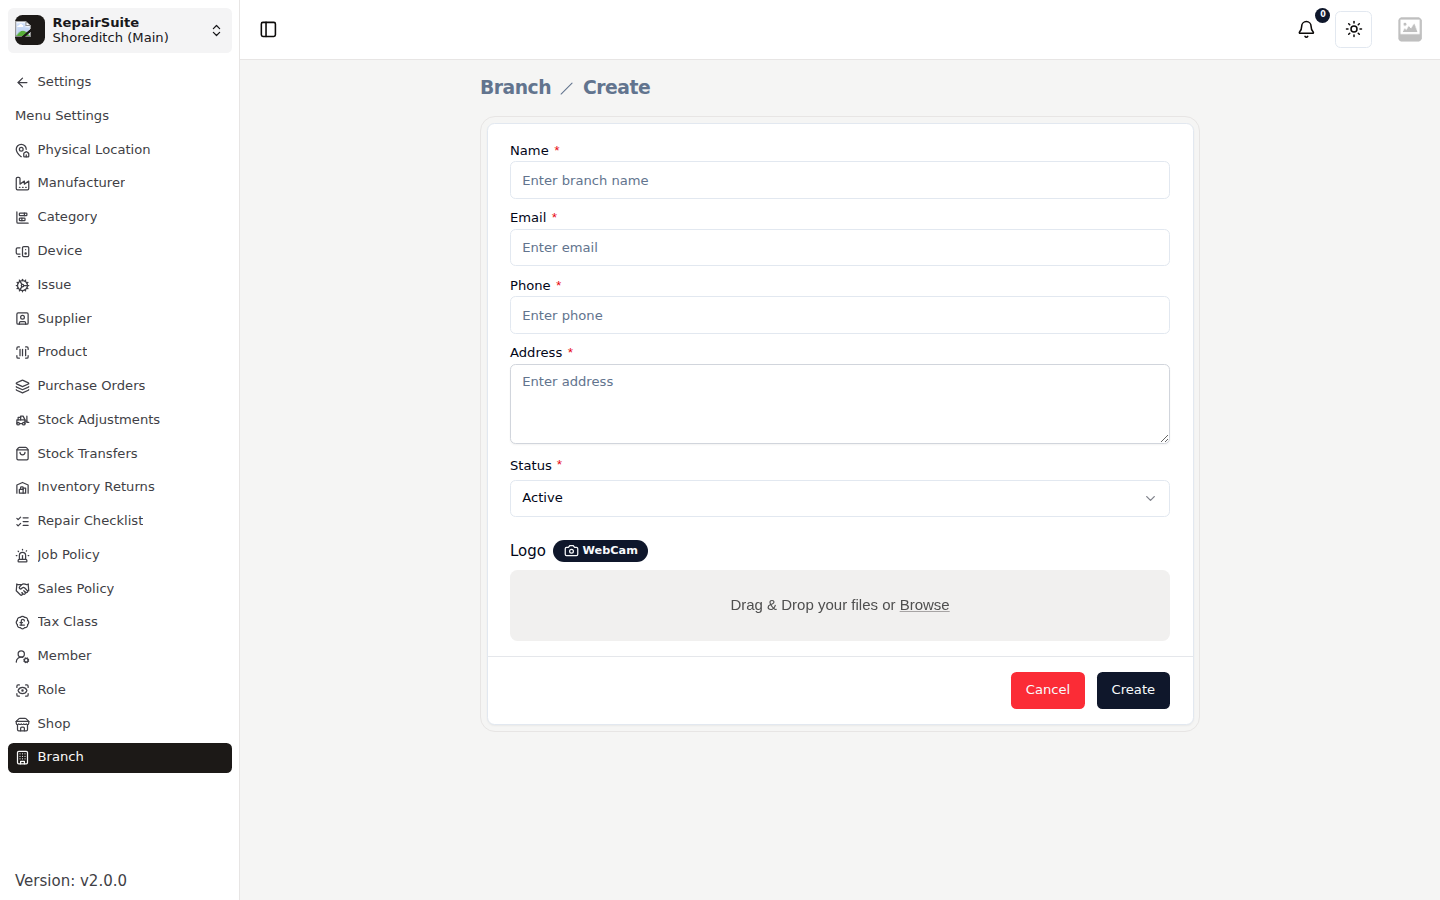
You can also navigate to Settings → Branch and click Add New Branch.
Branch Fields
| Field | Description |
|---|---|
| Branch Name | e.g. "Main Branch", "City Centre" |
| Phone | Branch contact number |
| Branch contact email | |
| Address | Full address of this branch location |
| Status | Active or Inactive — only active branches can be used |
| Logo | Optional branch logo, shown in the branch switcher |
Steps
- Go to Settings → Branch
- Click Add New Branch
- Fill in the branch name, contact details and address
- Leave the status as Active
- Save
Its booking switches are on the branch's own settings screen — see Branch Settings.
Switching Between Branches
If you have multiple branches, you can switch your working branch from the dropdown at the top left of the navigation.
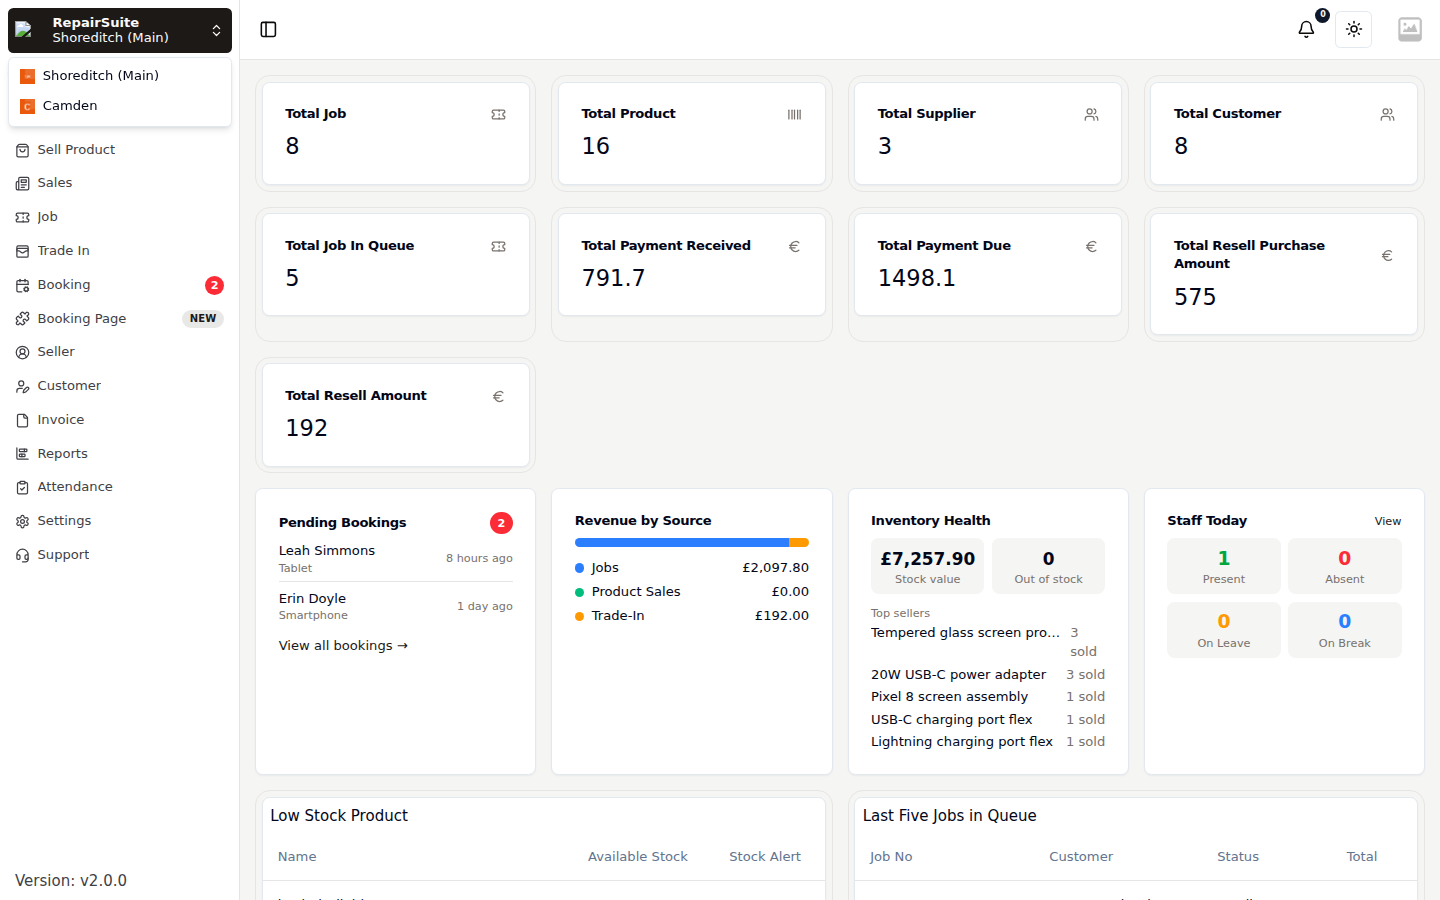
Everything you create — jobs, inventory, customers, invoices — belongs to the working branch. Check you are in the right one before you start.
:::tip To change your working branch:
- Click the shop and branch control at the top of the sidebar
- Pick the branch you want
- The page reloads showing that branch's data :::
Branch Status
- Active — the branch is fully operational; staff can log in and use it
- Inactive — the branch is disabled; staff assigned only to this branch cannot log in until the branch is reactivated or they are reassigned to another branch
Next Steps
With your shop and branch created, you're ready to choose a subscription plan.
→ Continue to Subscription & Billing