Roles & Members
RepairSuite uses a role-based access control system. You create custom roles with specific permissions, then assign those roles to branch members (staff).
Roles
A role is a collection of permissions. For example:
- Technician — sees and updates jobs, but cannot delete them or touch billing
- Front desk — books jobs in, manages customers and takes payments
- Manager — everything except the shop's own billing
Viewing Roles
Navigate to Settings → Roles.
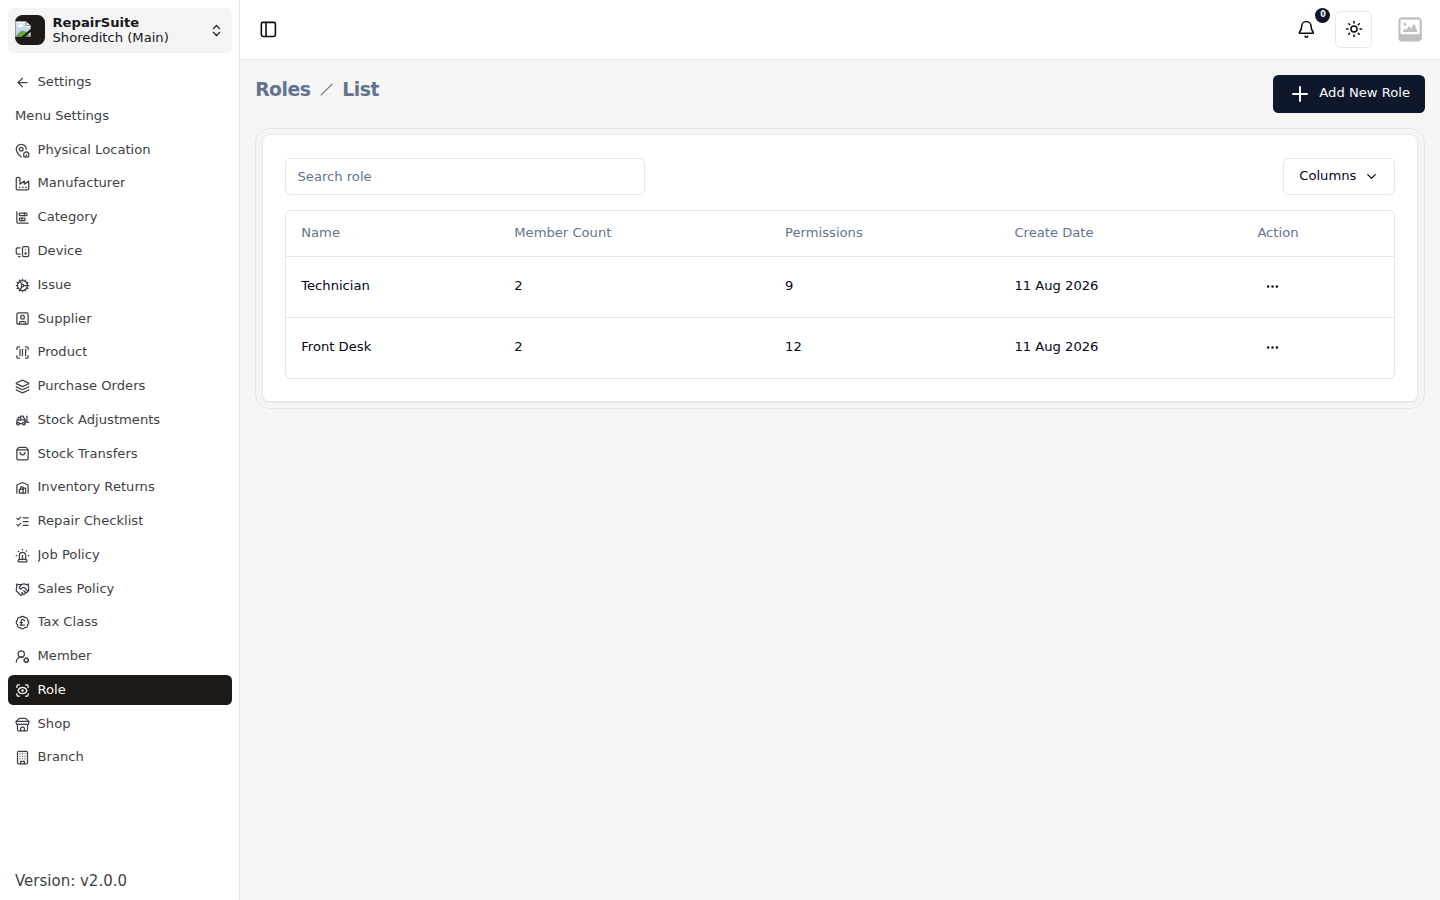
Creating a Role
- Click New Role
- Enter a Role Name (e.g. "Technician", "Front Desk", "Manager")
- Select permissions from the checklist:
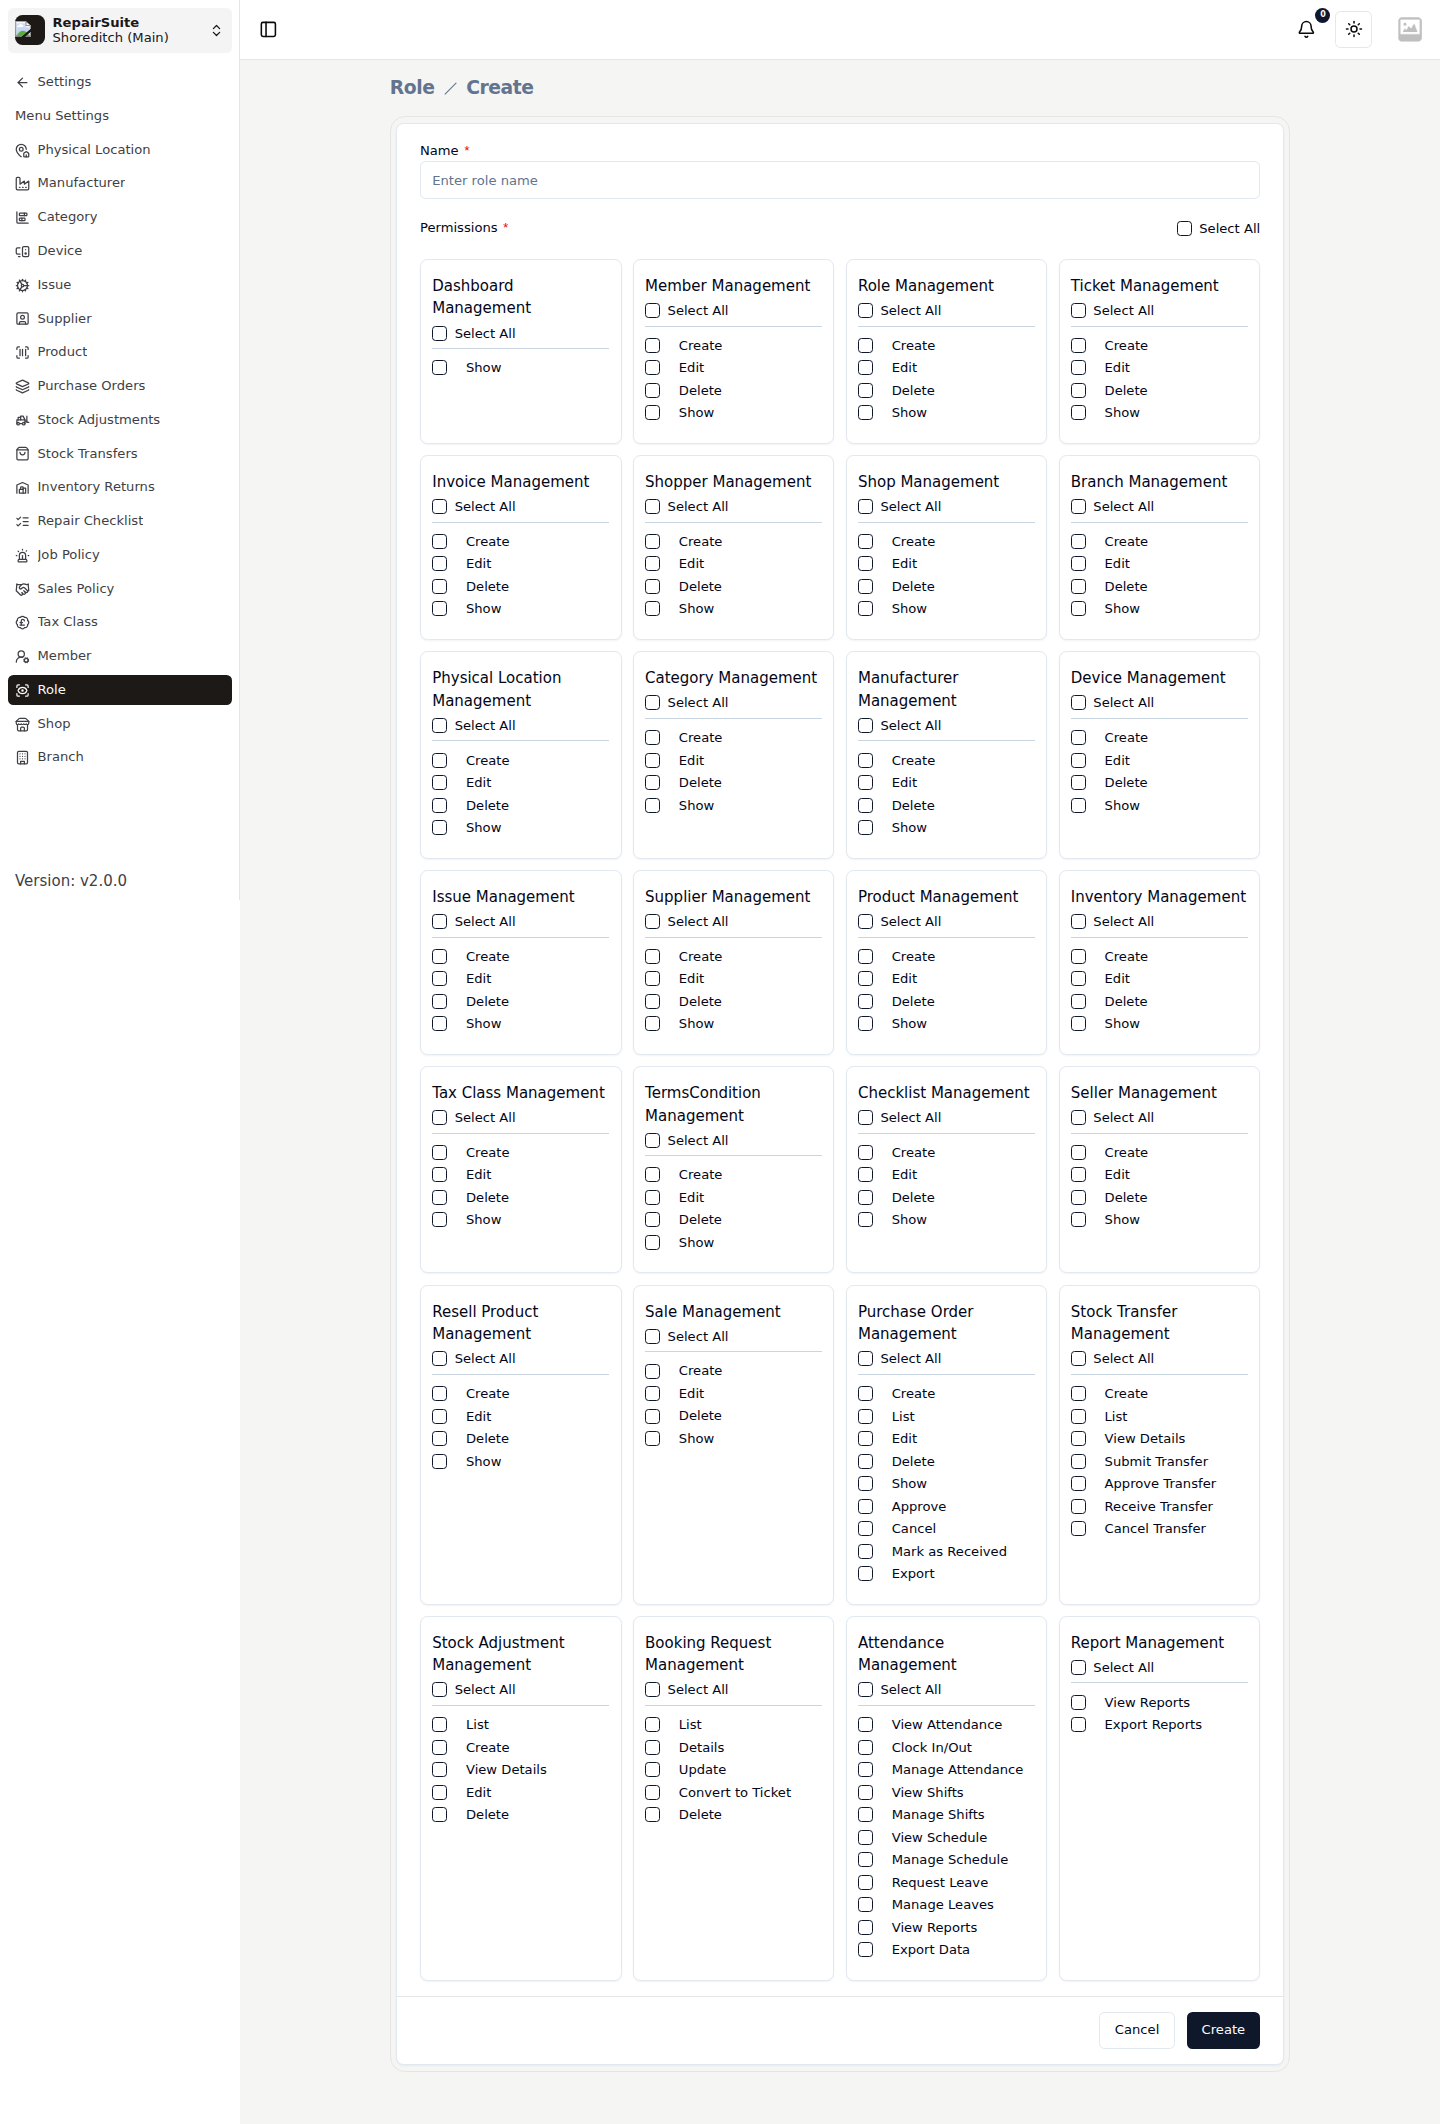
Permissions are grouped by module. Most modules offer Create, Edit, Delete and Show; some carry actions of their own.
| Module group | Covers |
|---|---|
| Dashboard, Ticket, Invoice, Customer | The everyday job and money screens |
| Category, Manufacturer, Device, Issue, Checklist | The repair catalogue |
| Product, Inventory, Supplier, Tax Class, Physical Location | Stock and its settings |
| Purchase Order | Create, list, edit, approve, cancel, mark as received, export |
| Stock Transfer | Create, list, view, submit, approve, receive, cancel |
| Stock Adjustment | List, create, view details, edit, delete |
| Seller, Resell Product, Sale | Trade-in and counter sales |
| Booking Request | List, details, update, convert to job, delete |
| Attendance | View, clock in/out, manage, shifts, schedule, leave, reports, export |
| Report | View reports, export reports |
| Member, Role, Shop, Branch, TermsCondition | Shop administration |
Each group has a Select All shortcut, and there is one at the top of the page for everything.
- Click Create
Editing a Role
- Click Edit on the role
- Update the name or permissions
- Save
:::warning Editing a role immediately affects all members assigned to that role. Review carefully before making changes. :::
Members
Members are staff accounts that can log in and access the shop's branch dashboard.
Viewing Members
Navigate to Settings → Members.
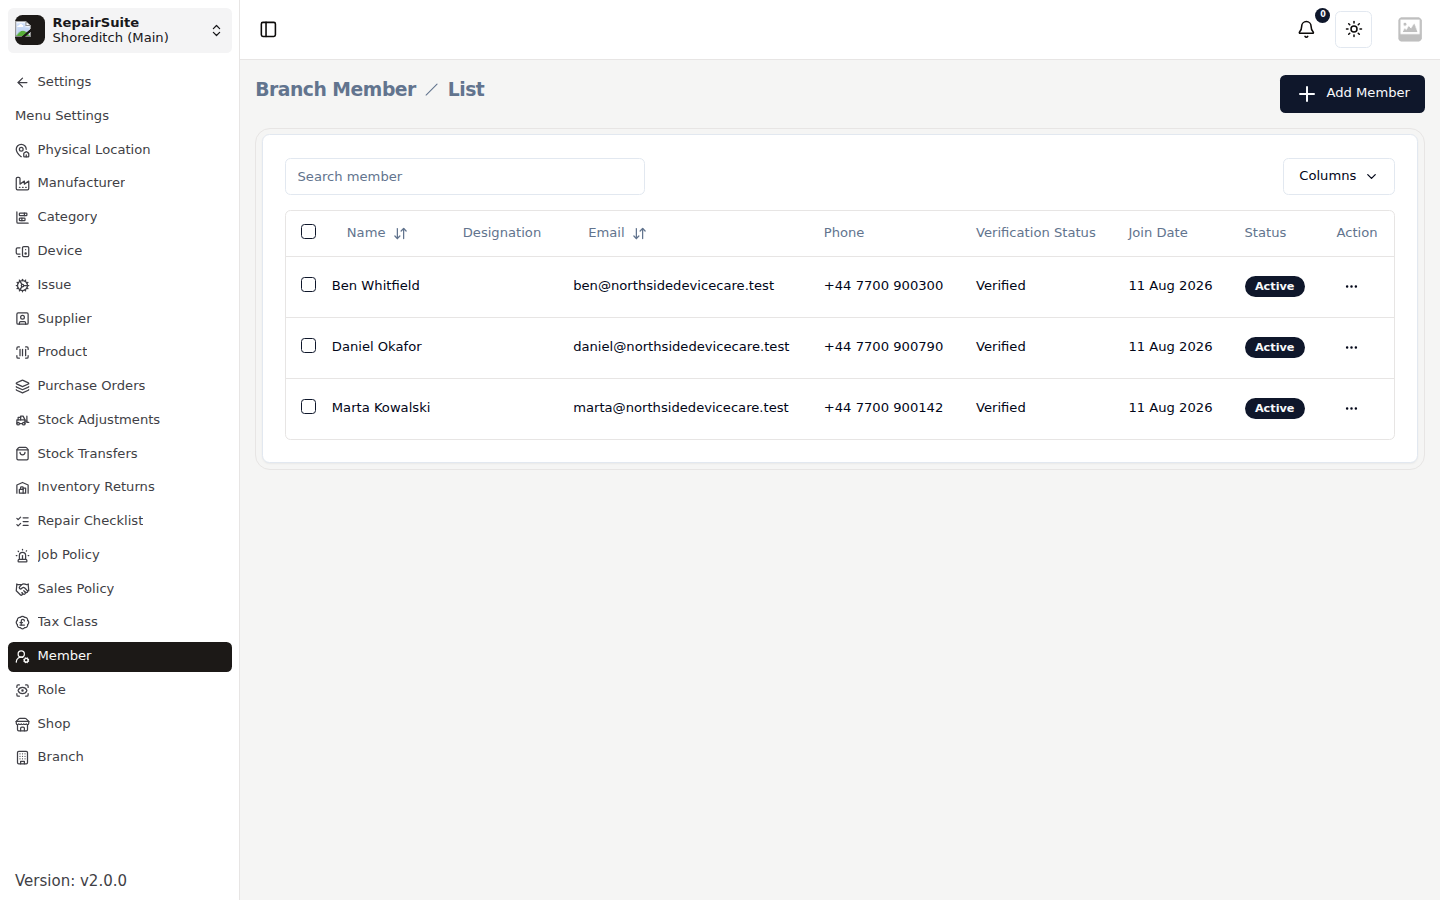
Inviting a New Member
- Navigate to Settings → Members
- Click New Member
- Fill in:
| Field | Description |
|---|---|
| Name | Staff member's full name |
| Their email — used for login | |
| Password | Set an initial password (they can change it) |
| Role | Select which role to assign |
| Branches | Which branch(es) they can access |
- Click Save
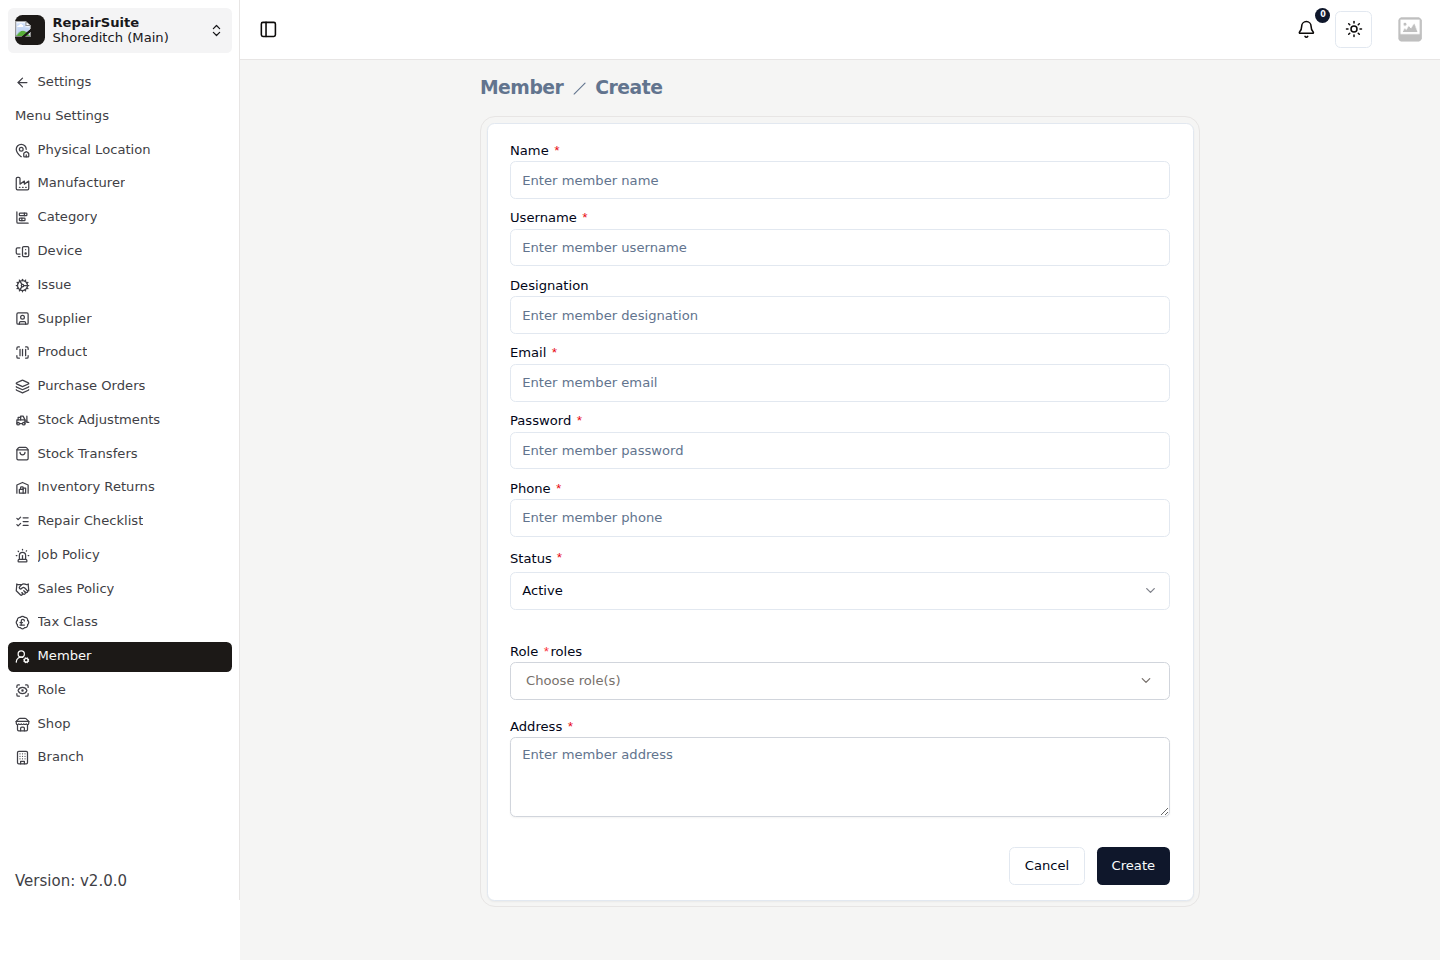
The new member can now log in with the email and password you set.
Editing a Member
- Click Edit on a member
- Update their name, role, or branch assignments
- Save
Activating / Deactivating Members
Toggle a member's status between Active and Inactive:
- Active — member can log in
- Inactive — member cannot log in (their account is suspended)
This is useful when staff are on leave or have left the company.
Multi-Branch Members
A member can be assigned to several branches and switch between them once logged in. Their permissions are the same everywhere; only the data changes.
:::note Hiding a module in Menu Settings removes it from the sidebar for everyone, but it does not remove the permission. Permissions are the real access control; menu settings are tidiness. :::